Hello good people! I hope you are all doing well during these crazy times.
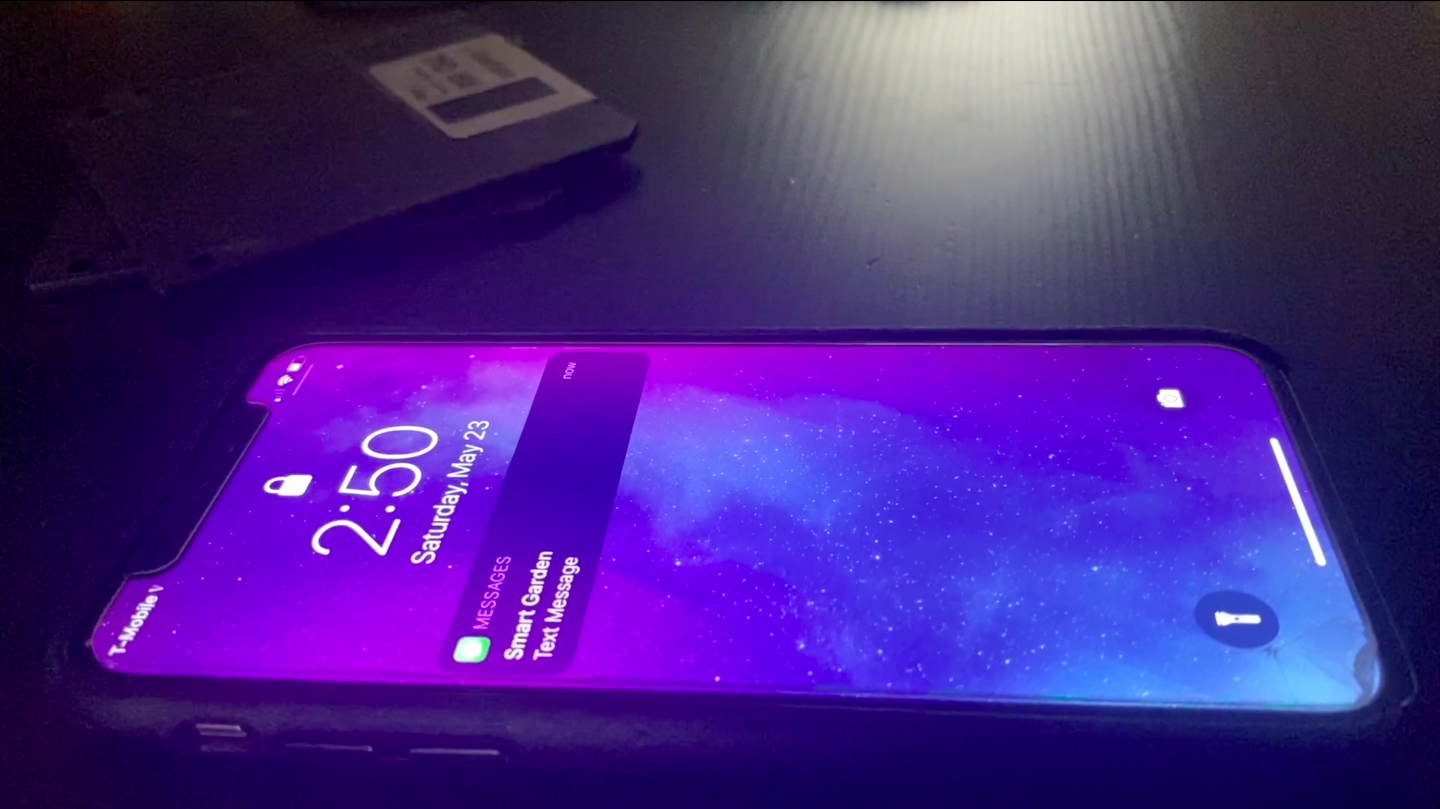
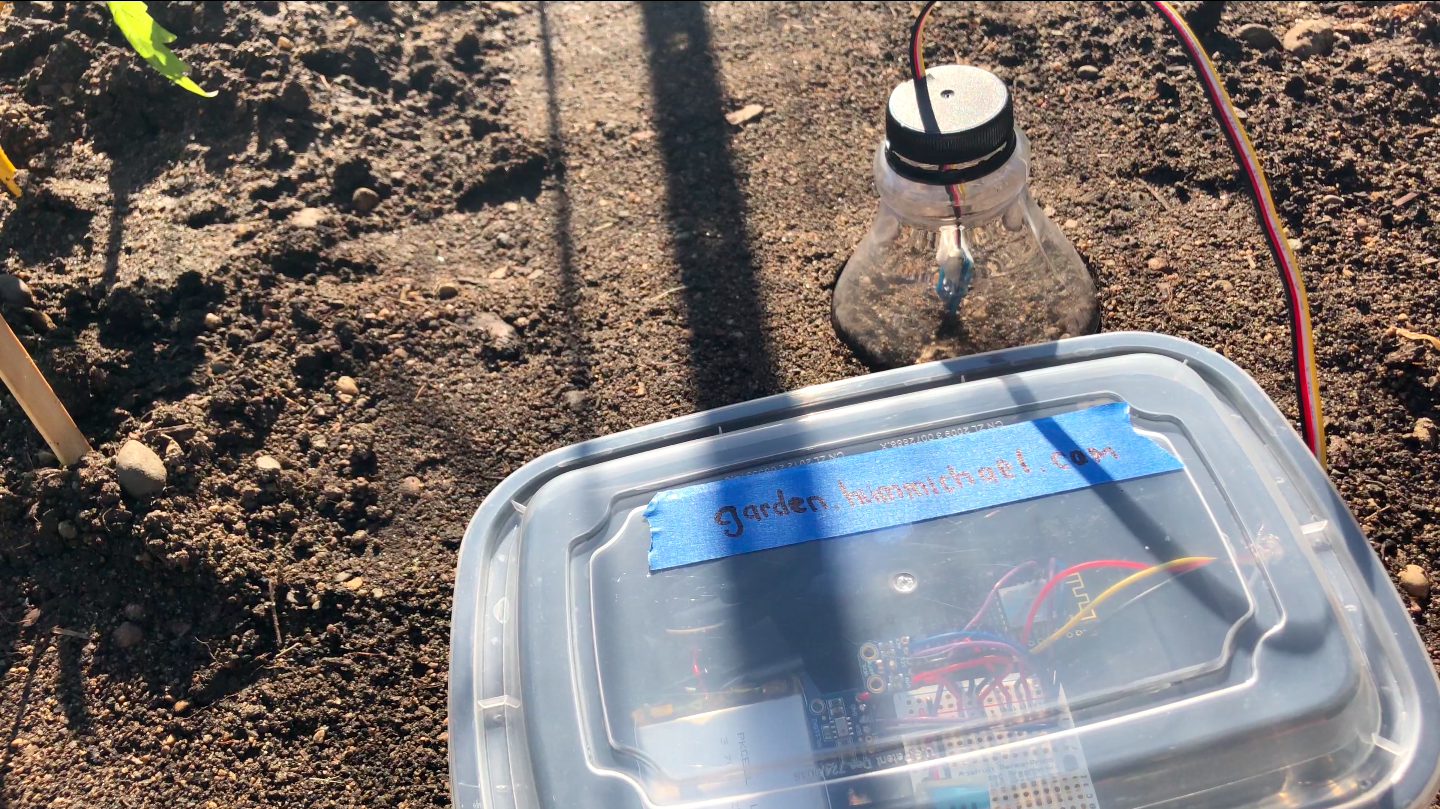
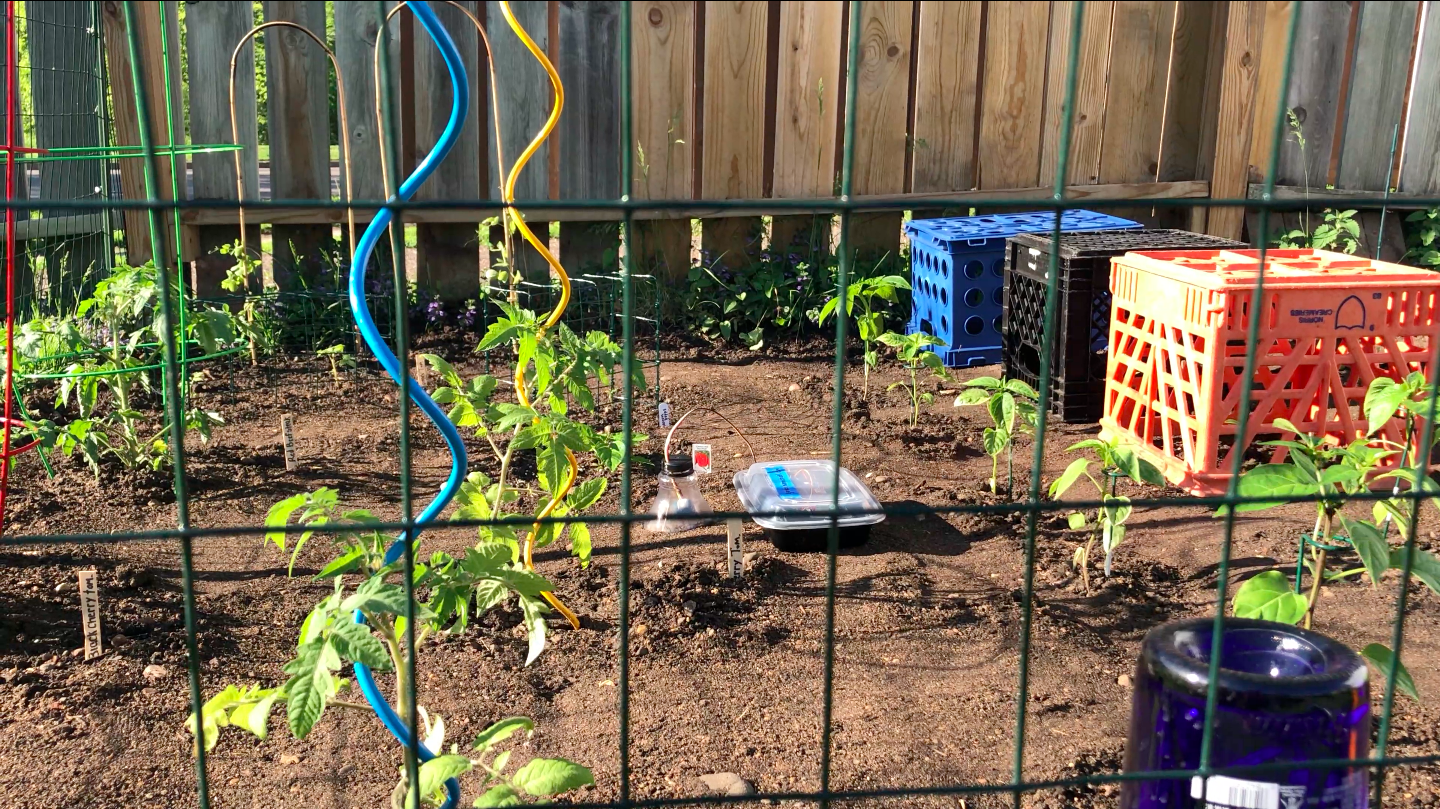
In this article I will be walking you through how to program an IoT Smart Garden (as seen in above video) that sends personalized text alerts.
This article makes the assumption that the reader has basic programming skills in both the Python and C languages. However do not fear if either of these things are new to you. Together, we will break down the code and take things step-by-step. Allons-y!
Click here to view wiring schematics
Prerequisites
- Arduino Microcontroller (WiFi or Cellular)
- Analog Environmental Sensor
- 22 Gauge - Electrical Wire
- AWS Account
- Moisture Sensor
- Python 3
- AWS SDK for Python (Boto3)
- Arduino IDE
- Wire Library
Sending a Text Message From Code
First, we will be using Python 3 and the AWS SDK for Python (Boto3) to send a text message. Believe it or not, it is actually pretty trivial! I had a professor who would always label new concepts taught in lecture as trivial. They never were...
So, let's begin by importing the required boto3 and time libraries. Doing so will allow us to write code that interacts with tools like Amazon Simple Notification Service (SNS), which AWS documentation describes as:
"[...] a highly available, durable, secure, fully managed pub/sub messaging service that enables you to decouple microservices, distributed systems, and serverless applications. [...] Additionally, SNS can be used to fan out notifications to end users using mobile push, SMS, and email."
In short, just what we are looking for!
from boto3.session import Session, boto3
import time
Next, we are going to need some variables
number = '+12024561111'
watering_threshold = 100
moisture_level = 0
The first of which is a string called number that contains the phone number you would like to send text messages to. The second variable is watering_threshold, a value set as the minimum soil moisture limit which determines when text messages will be sent. Lastly, the variable moisture_level is used to contain the moisture sensor value acquired from the Arduino code.
Finally, the heart of code wrapped nicely in a try-block. Let's walk through it.
try:
    if moisture_level <= watering_threshold:
        sns = boto3.client('sns')
        sns.publish(PhoneNumber = number, Message='Hey a**hole!')
        time.sleep(3)
        sns.publish(PhoneNumber = number, Message="I'm dryin' up out here!")
except Exception as e:
    print(e)
If the soil moisture sensor value is less than or equal to the minimum limit, create an sns client and publish the hardcoded message string to variable number. Then, sleep for three seconds and send another message. Ah yeah, that's it!
Sometimes it's crazy how much you can accomplish in so few lines. Python is cool like that. C is not cool like that. Putting it all together, we have the following code.
from boto3.session import Session, boto3
import time

number = '+12024561111'
watering_threshold = 100
moisture_level = 0

try:
    if moisture_level <= watering_threshold:
        sns = boto3.client('sns')
        sns.publish(PhoneNumber = number, Message='Hey a**hole!')
        time.sleep(3)
        sns.publish(PhoneNumber = number, Message="I'm dryin' up out here!")
except Exception as e:
print(e)Reading Soil Moisture Using Arduino
Now that we can send text notifications, let's take a look at how to take a soil moisture reading using Arduino and an analog sensor. The following code was written in C using the Arduino IDE.
Like Python, we will start by including a few libraries. The most notable is the Wire Library which will allow us to interface with the analog sensor, in this case, a soil moisture sensor.
#include <stdio.h>
#include <stdint.h>
#include <string.h>
#include <Wire.h>
Let's declare our variables
const unsigned long SECOND = 1000;
const unsigned long HOUR = 3600 * SECOND;
const int sensorPin = A0; // Set analog pin for moisture sensor
Both SECOND and HOUR are optional. I simply use them to improve code readability. The variable sensorPin is used to declare which pinout on the Arduino Microcontroller the analog sensor is connected to. In this example I use pin A0. Set this variable to your analog pin number.
Next, we need to create a function that reads the sensor value from the sensorPin. We can do this by calling the analogRead method defined in the Wire Library. Then, we return the value as type integer.
// Read and return sensor data from analog pin
int getSoilMoisture() {
    int sensorValue = 0;
    sensorValue = analogRead(sensorPin);
    return sensorValue;
}
The setup function initializes your Arduino Microcontroller while the loop function is where the bulk of your logic (Arduino sketch) executes and will repeatedly execute. In this example, I set my baud rate accordingly for easy serial interfacing before calling the getSoilMoisture function repeatedly.
void setup() {
    Serial.begin(115200);
    delay(100);
}

void loop() {
    int soilMoisture = getSoilMoisture();

    // TODO: Send data to web server via HTTP or MQTT

    delay(1*HOUR);
}
Finally, we put it all together. You will notice there is a TODO comment inside the loop function. I will not go in-depth on HTTP and MQTT networking in this article; however, I will provide multiple resources in my final remarks below.
#include <stdio.h>
#include <stdint.h>
#include <string.h>
#include <Wire.h>

const unsigned long SECOND = 1000;
const unsigned long HOUR = 3600 * SECOND;
const int sensorPin = A0; // Set analog pin for moisture sensor

// Read and return sensor data from analog pin
int getSoilMoisture() {
    int sensorValue = 0;
    sensorValue = analogRead(sensorPin);
    return sensorValue;
}

void setup() {
    Serial.begin(115200);
    delay(100);
}

void loop() {
    int soilMoisture = getSoilMoisture();

    // TODO: Send data to web server via HTTP or MQTT

    delay(1*HOUR);
}
Final Remarks
In this article we learned how to send a text message using Python as well as read soil moisture using Arduino. Now all that remains is to connect the two ideas together. This may be accomplished by posting the soil moisture data to a web server or serverless HTTP endpoint which then uses the received data to execute our AWS SNS example above.
You have a few options when it comes to sending data to a web server from your Arduino Microcontroller. Two popular options are MQTT and HTTP. MQTT is data centric whereas HTTP is document-centric. As long as your microcontroller has internet access either method with work!
Voilà! You are well on your way to creating your very own IoT Smart Garden!
Looking for more IoT goodness? Check out my GitHub!