Almost all of the materials in this project were random odds and ends I found lying around from past projects. If you don't have something on the list, feel free to experiment and use what you do have. In fact, I challenge you to reuse as much as possible on this one!
Materials
- Empty Jug or Container
- Plants
- Miniature 5V Cooling Fan
- WRTS-SP-W: Mini ON/OFF Toggle Switch - Wired
- 5V 2A Power Adapter and Cable
- DC-DC Adjustable Step-up Boost Power Converter Module
- 22 Gauge - Electrical Wire
- Adhesive ✱
- Spray paint ✱
Tools
- Soldering Iron and Solder
- Scissors or Utility Knife ✱
- Wire Stripper
- Drill ✱
- ✱ = Optional tool or material
Creating the Terrarium
To begin, we are going to create the terrarium. You may use any empty jug or container, just keep in mind the type and thickness of the material as you may need to cut into it.
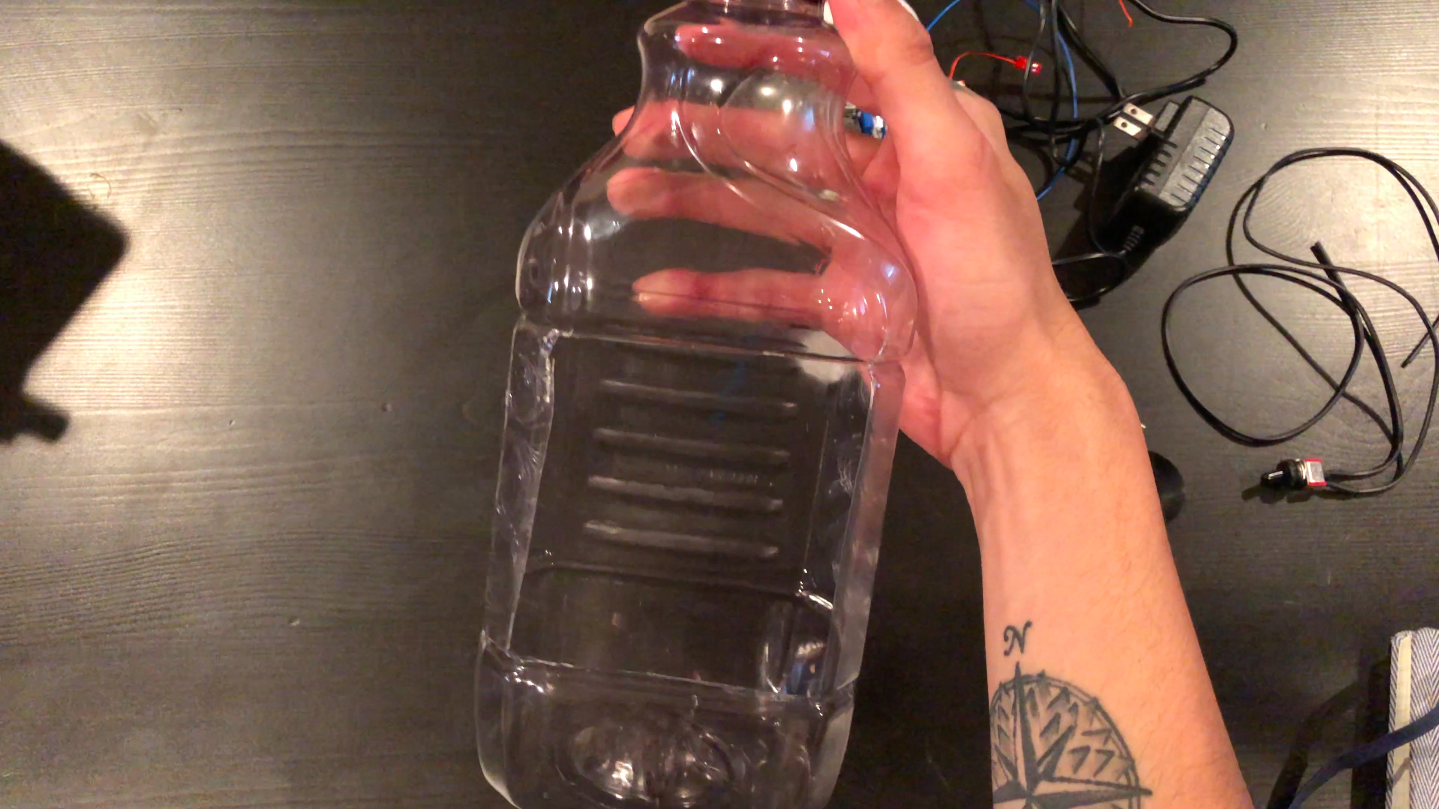
If there is not already a large enough opening in your terrarium, use a utility knife or scissors to cut a hole. This opening will become your main access to the plants. You may also need to create an additional opening depending on whether or not you decide to include a cooling fan.
- Obtain empty jug or container
- Cut large enough opening for plants in jug or container
- Create second hole for fan ✱
Once your terrarium is ready to go, get those soldering irons heating up cos we're movin' onto circuitry!
Hello Soldering, My Old Friend
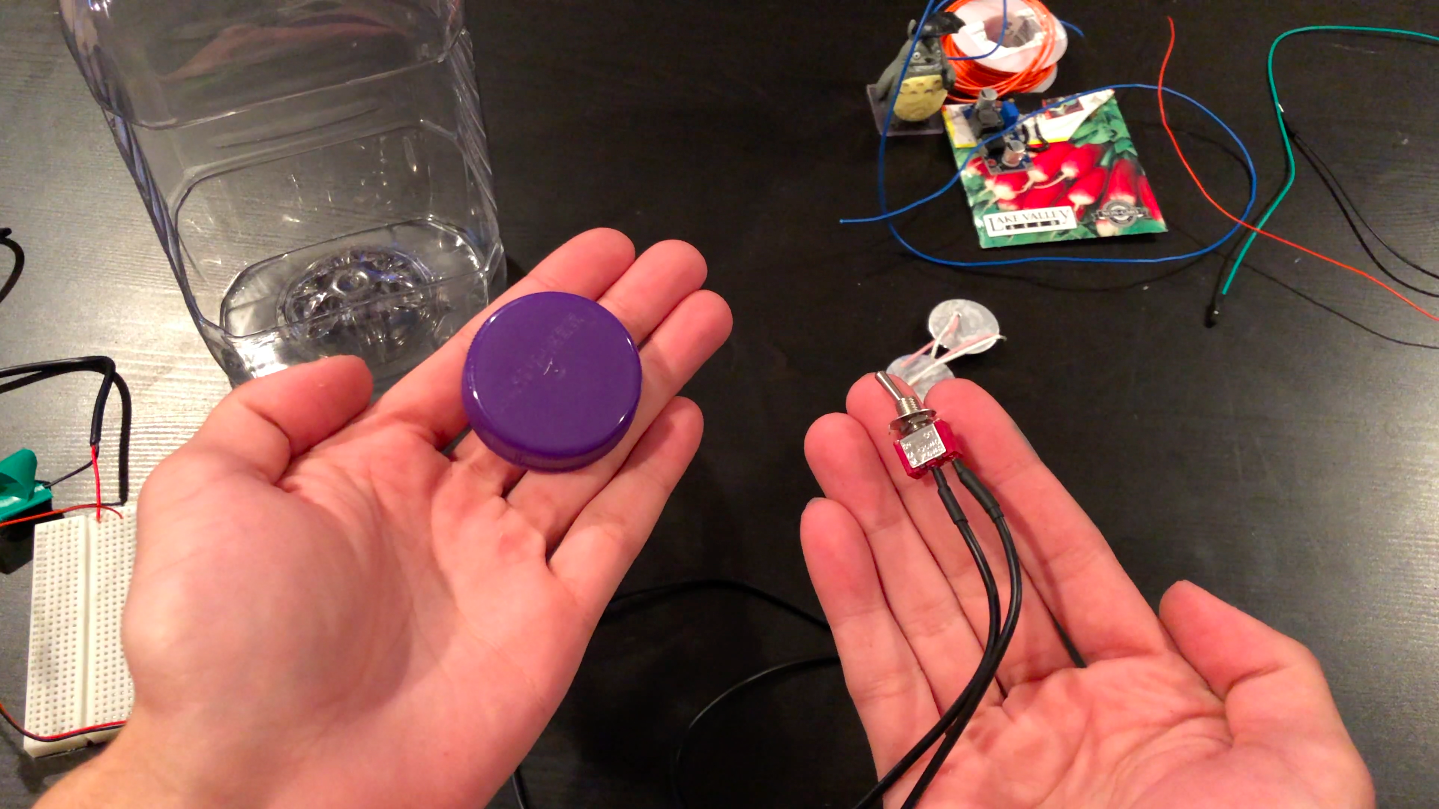
Next, we will create the circuit for the grow light and cooling fan. You may view the wiring schematic here. Overall, the circuit is pretty simple.
- Attach on/off switch to input power source
- Connect miniature 5V cooling fan power to on/off switch
- Connect grow light's power and ground to DC-DC step-up boost converter module out
- Connect DC-DC step-up boost converter module power in to on/off switch
- Connect all grounds
Note: It is especially important to keep in mind ampage so that you source a sufficient enough power adapter!
Once your circuit is up and running, the next step is to attach the electronics to the inside of the terrarium. To do this, I've found epoxy and hot glue works well. However, something like a zip tie could also do the trick!
Let's Talk Plants
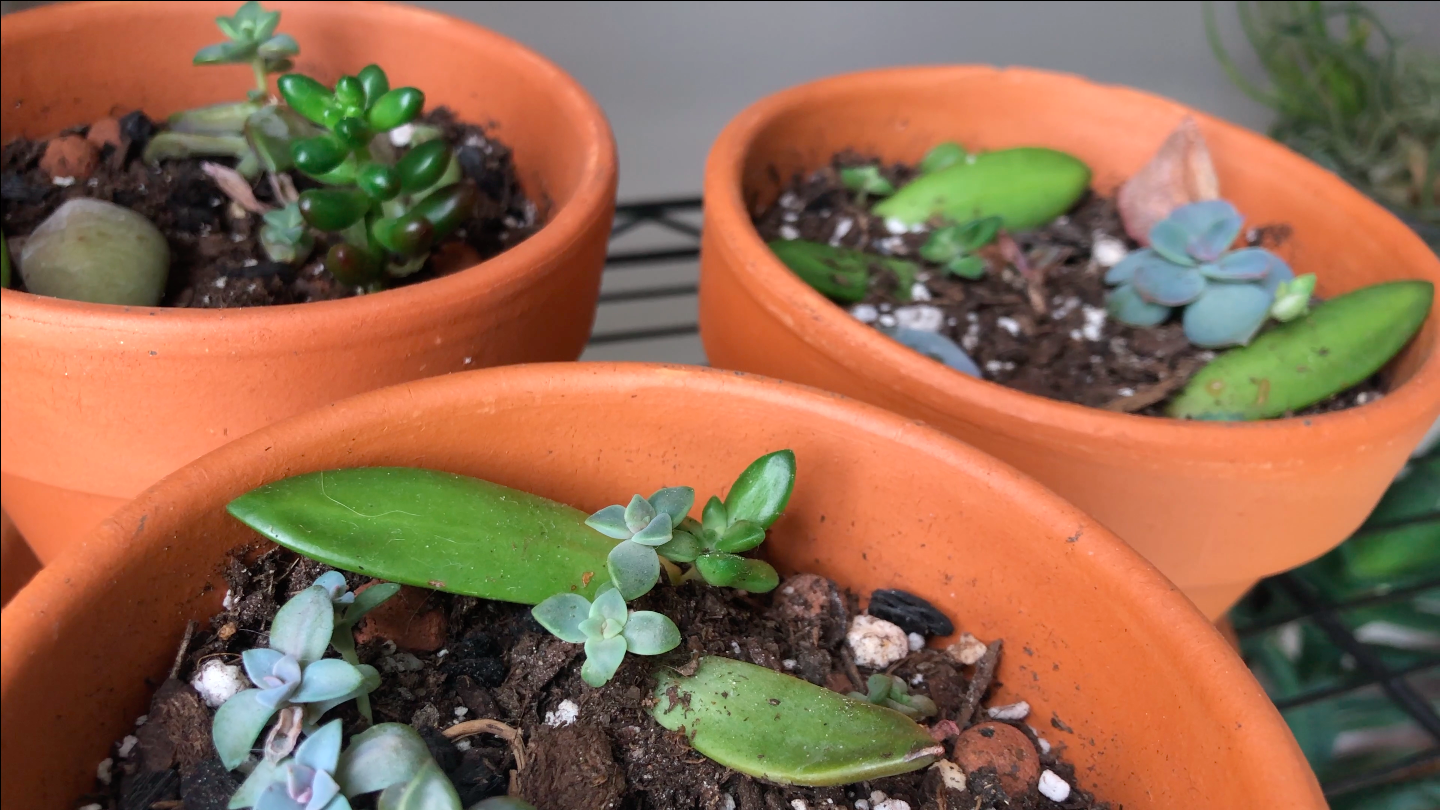
Lastly, you could simply fill the base of your terrarium with potting soil and start planting! Or, you could even create a pot by cutting a water bottle or can in half (just some ideas). I decided to use some succulents I had been propagating. No need to spend more money here. In fact, this terrarium could be your new plant propagation station!
Looking for more DIY inspiration? Check out my GitHub!