Hello good people! I filmed this build back in 2023 and then, in a move that will surprise absolutely nobody who knows me, never got around to writing it up. A few years and a lot of salad later, here we finally are.
This is the Kratky method: hydroponics with no pump, no air stone, no timer, and no electricity of any kind. You fill a bucket once, set a plant on top, and walk away. Six or seven weeks later you cut a head of lettuce off of it. It is the laziest gardening I have ever done and it works embarrassingly well.
If you have read my Smart Garden writeup, you know I have a weakness for overengineering a houseplant. This project is the exact opposite of that, and I think that is why I keep coming back to it. Nothing here can fail, because nothing here is running.
Why This Works Without a Pump
Almost every bucket hydroponics build you will find online is deep water culture, which means an air pump and an air stone bubbling away around the clock. That is not marketing fluff. Roots parked in still water genuinely do suffocate, and the pump genuinely does solve it.
The interesting part is that Kratky solved the same problem with geometry instead of hardware.
The method is named for Bernard Kratky, a researcher at the University of Hawaii, who laid it out in Three Non-Circulating Hydroponic Methods for Growing Lettuce (Acta Horticulturae 843, 2009). His abstract is about as readable as horticulture papers get:
"Three non-circulating hydroponic methods for growing lettuce are described which do not require electricity, pumps or wicks. All of the nutrient solution is added prior to planting or transplanting. [...] Plants are automatically watered, because the entire growing medium in the net pot becomes moistened by capillary action. Plant growth reduces the nutrient solution level, creating an enlarging moist air space. Meanwhile, the root system expands and continues to absorb water and nutrients."
That "enlarging moist air space" is the whole trick. You never top the bucket back up. As the plant drinks, the water line falls, and the gap it leaves behind fills with humid air that the sealed lid keeps from drying out.
The root system responds by splitting into two crews doing two different jobs:
"Roots occupying the moist air space above the solution have been described as oxygen roots whose main function is aeration; these roots experience vigorous lateral and branching growth (Imai, 1987). Roots extending into the nutrient solution are considered to be water and nutrient roots that have limited elongation capabilities, because the oxygen content of the nutrient solution becomes progressively lower with depth."
So the plant grows its own air pump. The upper roots breathe, the lower roots drink, and the falling water line is the signal that tells the plant to build that way in the first place.
Which brings us to the single most important sentence in this entire article, and I am quoting the paper directly so you know I did not make it up:
"The nutrient solution level may remain the same or be lowered, but it should not be raised because submerging the oxygen roots will cause the plant to drown."
Do not top off the bucket. I know how wrong that feels. Every instinct you have built up as a gardener is going to look at that dropping water line in week four and scream at you to add more. Ignore it. Refilling mid-grow is the number one way people kill their first Kratky plant, and they kill it with kindness.
Materials
- 5 Gallon Bucket, food grade and opaque
- Lid for the bucket
- 3 Inch Net Pot
- Growing Medium (clay pebbles, rockwool, or coco coir)
- Hydroponic Nutrients (a two or three part formula like the General Hydroponics Flora series)
- pH Test Kit, plus pH Up and pH Down
- Seeds or seedlings
- Black spray paint, duct tape, or foil ✱
Tools
- Drill
- Hole Saw sized to your net pot
- Measuring cup
- Marker
- Utility knife or file for cleaning up the cut ✱
- ✱ = Optional tool or material
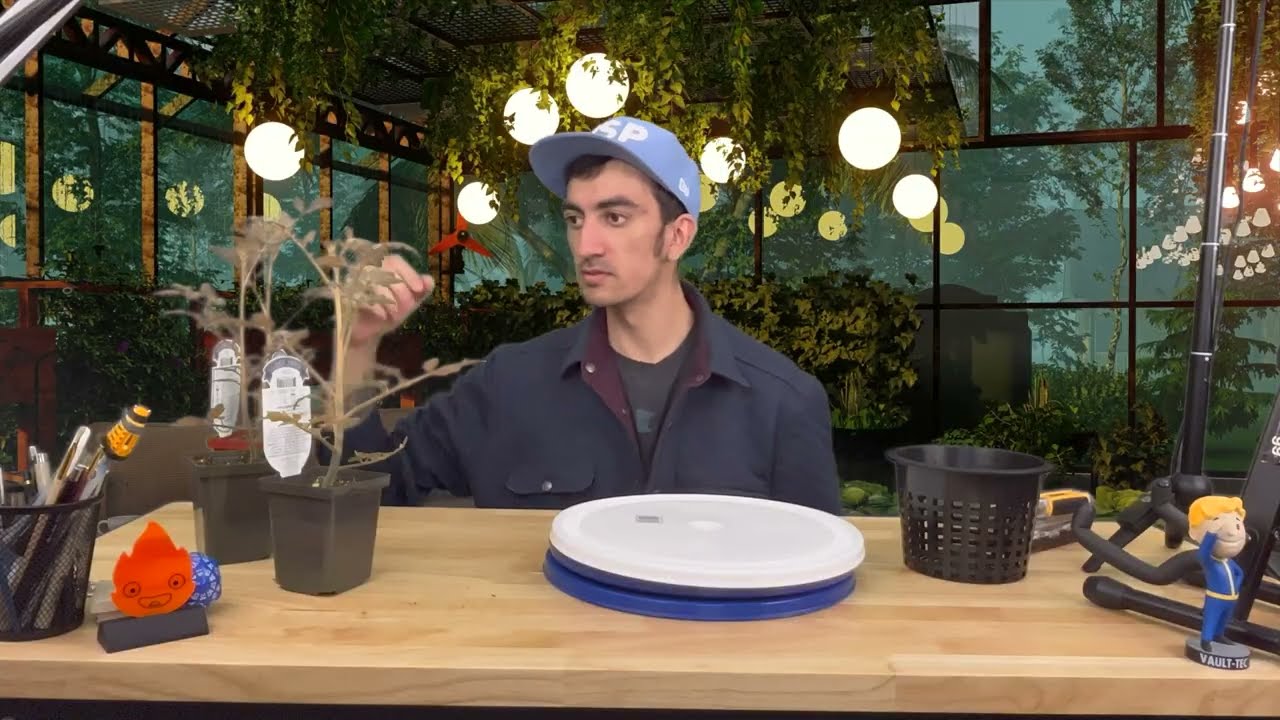
One note on the bucket before we cut anything: get an opaque one. Light plus nutrient water equals an algae smoothie, and algae eats the food you bought for your lettuce. The orange buckets from the hardware store are perfect. If yours is translucent, that is what the spray paint or foil is for.
Building the Bucket
Step 1: Cut the Lid
The net pot needs to hang from the lid by its rim, not fall through it. Measure the widest part of the pot, then measure the lip just below it, and cut somewhere in between. A 3 inch net pot usually wants something close to a 2.5 inch hole saw, but measure yours rather than trusting me.
- Trace the pot on the lid and mark your center point
- Drill a pilot hole, then run the hole saw through
- Clean up the burrs with a knife or a file so the pot seats flat
- Dry fit the pot before you go any further
How many holes? Kratky budgets "4 to 8 liters of nutrient solution per plant," and a 5 gallon bucket holds about 19 liters. That is one hungry plant with room to spare, or two to three heads of lettuce if you want a real harvest out of a single bucket.
Step 2: Block Out the Light
Anywhere light can reach the water, algae will grow. Paint, wrap, or tape the bucket if it is not already opaque, and pay attention to the gap around the net pot itself, which is the leak everybody forgets. A small collar of foil around the base of the plant fixes it.
Step 3: Mix the Nutrient Solution
Order of operations matters here more than people expect.
- Fill the bucket with water first. Distilled or reverse osmosis is ideal. Tap water works if you let it sit out overnight so the chlorine can gas off
- Add your nutrients to the water one part at a time, stirring between each. Never pour concentrates directly into each other, they will lock up into a chalky mess that your plant cannot use
- Check the pH after mixing, not before. Nutrients move it, sometimes a lot
- Adjust to somewhere between 5.5 and 6.5. Leafy greens are happiest right around 6.0
This is the only chemistry you have to do for the entire grow, so it is worth doing carefully.
Step 4: Set the Water Line
This is the step people skim past and then wonder why nothing happened. Everything the method does depends on getting this right.
Fill the bucket so that roughly the bottom inch of the net pot sits in the solution. Kratky specifies "the lower 3-cm-portion of the pot immersed," which is about an inch and a quarter. That contact is what wicks water up into the medium by capillary action and keeps a brand new seedling alive before it has roots long enough to reach anything.
- Too low and the seedling never gets a drink. It will dry out and die within a few days
- Too high and the medium stays waterlogged, which invites stem rot
The easy way to nail it: put the lid on with the empty net pot seated in the hole, then pour water in until it just kisses the bottom of the pot. Mark that line on the outside of the bucket with your marker. Now you can hit it again next time without guessing.
Step 5: Add Your Plant
Seedlings started in rockwool cubes are the path of least resistance. Set the cube down in the net pot, pack clay pebbles around it to hold everything upright, and make sure any roots already poking out are pointed down through the slits rather than curled up inside.
Starting from seed works too. Drop the seed in the rockwool cube, seat it in the pot, and be patient. The bucket will handle the watering from here.
Step 6: Walk Away
That is genuinely it. There is no pump to plug in and no schedule to keep. Put the bucket somewhere the leaves get at least six hours of sun, or park it under a grow light, and let it do its thing.
One trick that is worth the trouble: give the leaves sun but keep the bucket itself shaded. Warm nutrient solution is where root rot comes from, and a dark bucket sitting in full afternoon sun cooks like a car in a parking lot. A milk crate, a scrap of cardboard, or a spot against a north wall is enough.
Kratky's timeline for the plants this method was designed around:
"Leaf and semi-head lettuce cultivars are usually harvested at about 6 to 7 weeks after seeding."
What to Grow, and What to Skip
Kratky is a specialist, not a generalist. It absolutely crushes fast leafy things:
- Lettuce of every kind, which is what the method was built for
- Spinach, kale, bok choy, and swiss chard
- Basil, cilantro, mint, and parsley
Tomatoes, peppers, and cucumbers are the ones everybody tries next, and they are where the fun stops. A fruiting plant will drink your entire bucket long before it finishes fruiting, and since you are not allowed to refill it, you end up either drowning the oxygen roots or watching the plant stall out. Add the trellising problem on top of that and you are fighting the method instead of using it. Root crops are a non-starter for obvious reasons.
Kratky says the quiet part out loud when describing the smallest version of his system:
"The 4-liter bottle method is suitable for lettuce and other short-term crops which require less than 4 liters of water for their lifespan."
Short season, leafy, thirsty but not that thirsty. Lean into what it is good at and it will not let you down.
When Things Go Wrong
- The seedling wilted in the first week. Your water line was too low and capillary action never bridged the gap. Start over an inch higher
- The water smells swampy or the roots feel slimy. Root rot, usually from a warm bucket or a light leak. Shade the bucket and check your seals
- Lower leaves are yellowing. The solution is running out of what it had. If the plant is close to size, harvest it. If it is not, that bucket was undersized for the crop
- Green film on the growing medium. Light getting in around the net pot. Foil collar
- Two weeks in and nothing is happening. It is almost always light. Not enough of it, or not close enough to the plant
Harvesting
Leaf lettuce can be picked outer leaves first and left to keep producing for a few extra weeks. Head types you cut all at once. Either way, harvest in the morning while the plant is full of water and the leaves are crisp, and use clean sharp scissors so you are not crushing the stems.
For scale, the paper notes that "growers typically aim for 150 to 250 gram heads with this growing method." That is a respectable head of lettuce out of a bucket you filled one time and then ignored.
When you pull the plant, do not dump the leftover solution down the drain. Pour it on your soil garden. It is still fertilizer.
Final Remarks
The reason this build stuck with me is the water math. Kratky reports:
"Water use efficiencies of less than 20 liters per kg of lettuce are common, and an efficiency as low as 11 liters per kg of lettuce has been recorded."
A sealed bucket has nowhere to lose water to. Nothing runs off, nothing soaks past the root zone, and the lid stops most of what would otherwise evaporate. Every drop you put in either ends up in the plant or is still sitting there when you harvest. That is a hard thing to beat, and it is done with a bucket, a lid, and a plastic cup.
I built mine during a stretch of drought and grocery prices doing what grocery prices have been doing. It is not going to feed a family. But there is something genuinely reassuring about knowing that a five dollar bucket and a jug of nutrients can put fresh greens on the counter with no power, no plumbing, and no permission from anybody.
Cut a hole in a lid. Go grow a salad.
Looking for more low-tech garden goodness? Check out my GitHub!